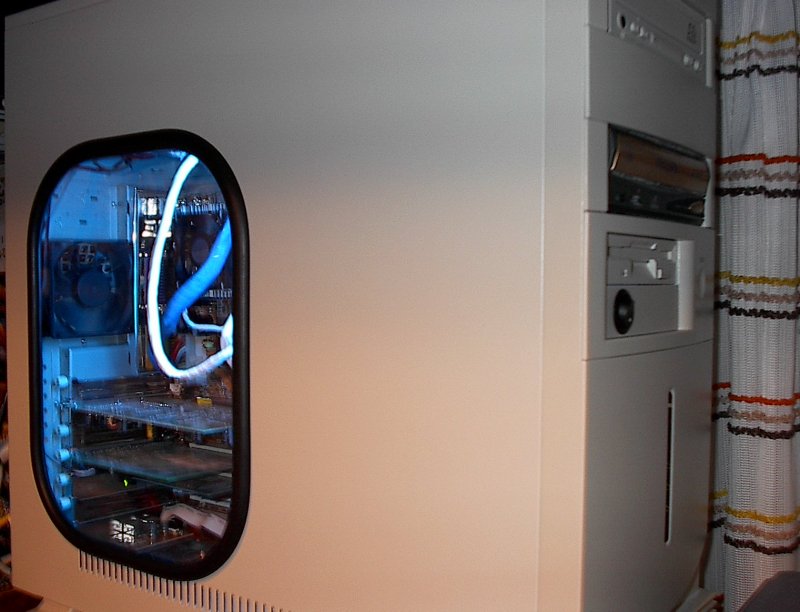
Before | After | Modding Cables | Windows | Cutting the Window | Installing the Window | Neon Light
AMD T-Bird 1.33GHz
SoundBlaster Audigy 2 Plat
MSI GeForce 4 Ti 4600 128mb DDR
Asus A7M266 mobo
640mb DDR ram ( 512, 128)
Logitech Z680 Speakers
Scores:
3dmark2001 with my GeForce 2 GTS/32mb: 3854
3dmark2000 with my GeForce 2 GTS/32mb: 640 x 480 - 7950
3dmark2001 with my GeForce 4 Ti 4600 128mb DDR: 9253
3dmark2000 with my GeForce 4 Ti 4600 128mb DDR: n/a
Fans:
1 80mm intake
1 80mm exhaust
Power supply exhaust
Generic GeForce fan
CPU Fan:
GlobalWin WBK68
Fan Speed 4800±15 % RPM
Air Delivery 23.7±15 % CFM
Noise Level 36.5±2 dBA
Hard Drives:
27.3 GB 7200 ATA 66 WD
60.0 GB 7200 ATA 100 IBM
Other:
52x CD-Rom
4x4x32 CR-RW
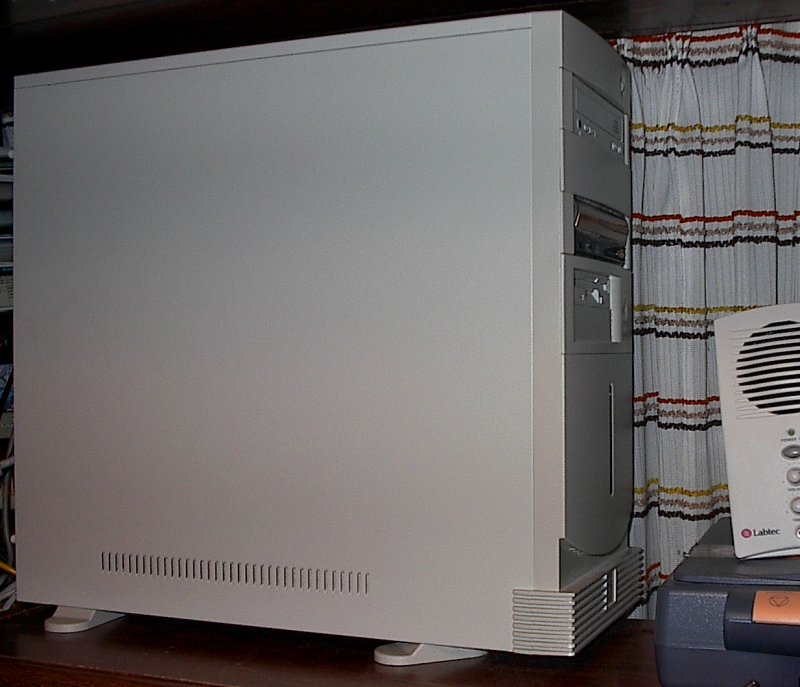
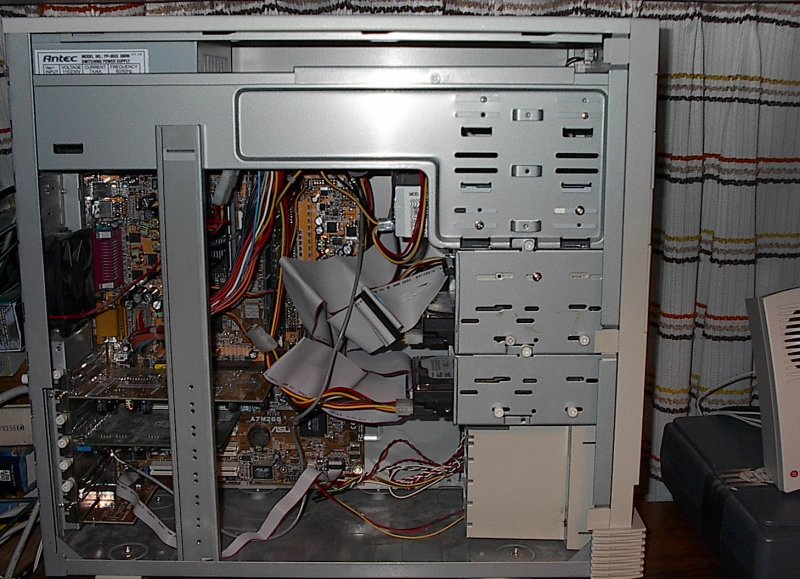
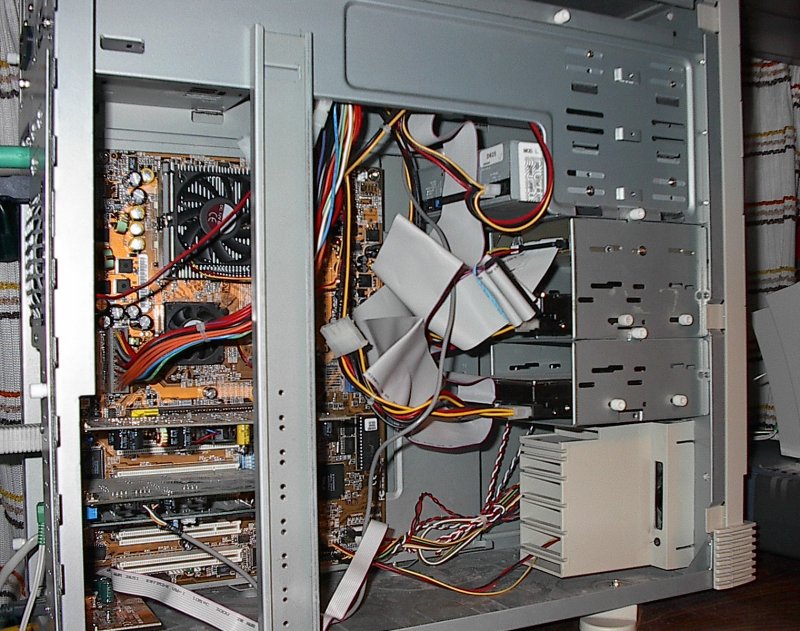
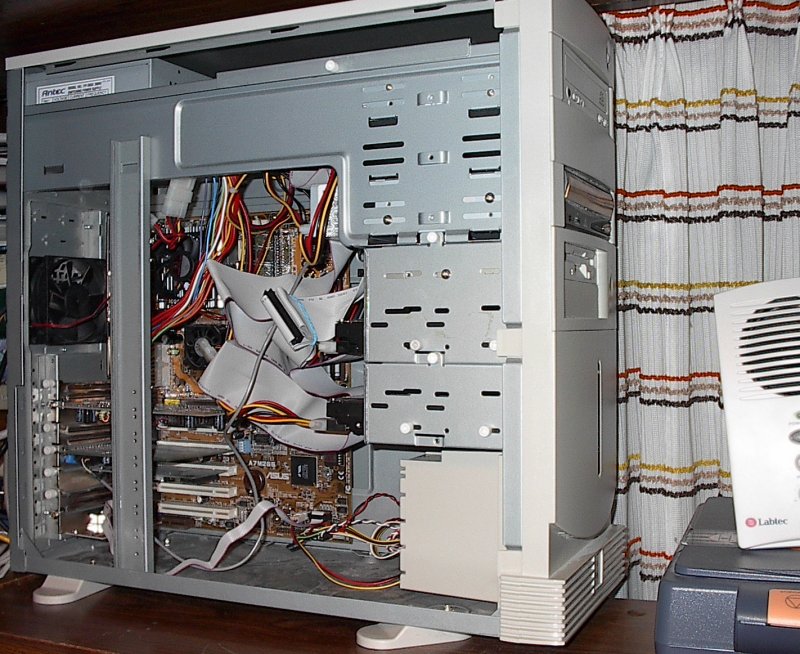
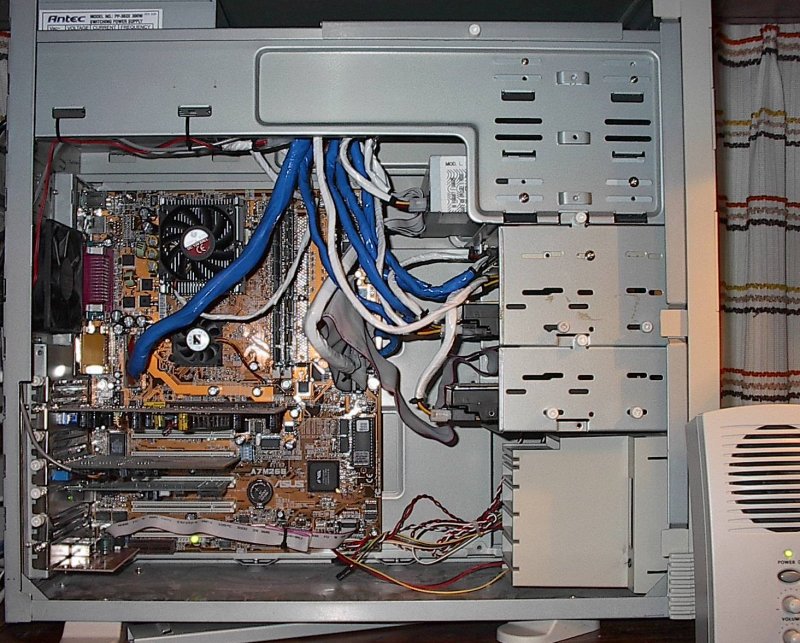
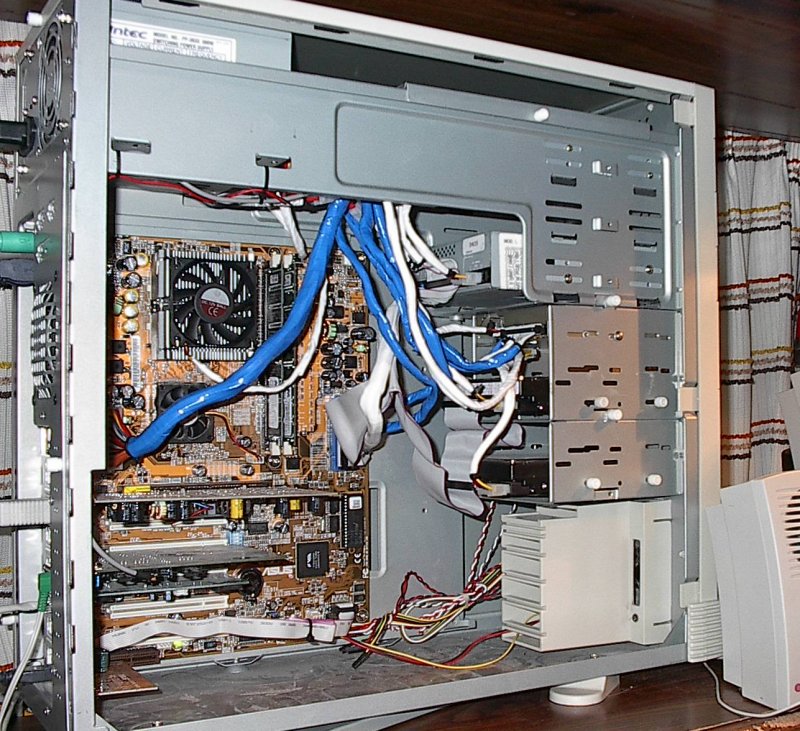
Before Pictures
Tired of those old 286 gray cables? Or do you need better airflow in your case? Well you can either spend $15 to buy rounded cables or make your own. Be careful when attempting to round your own cables.
Below, I used a standard ATA 30 cable. I did not try to mess with an ATA 66/100/133 due to the fact that the wires are so close together. When you pull them apart the metal will be exposed. In order to round your cables you will need the following items:
1) Razor blade
2) Something to cut on
3) Electrical tape (of your choice)
4) Cable ties
5) Scissors, or you can just use your razor blade
IDE CABLE
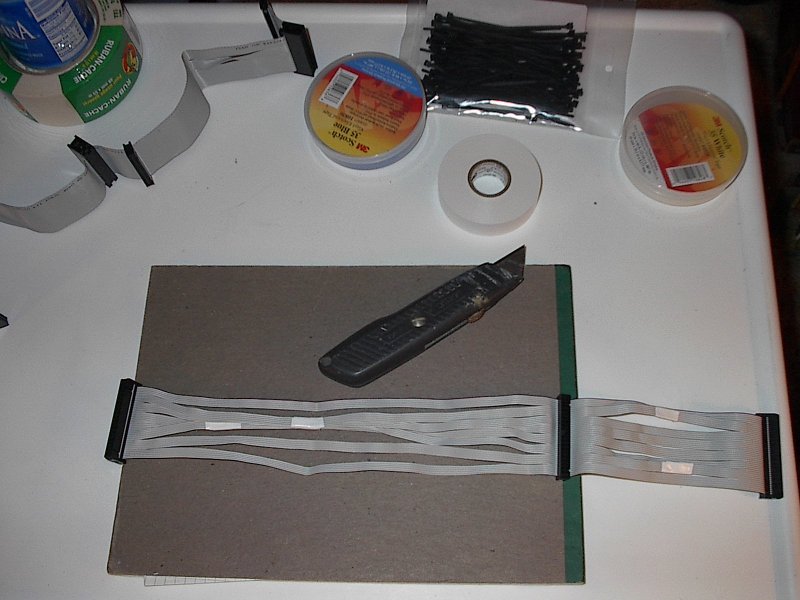
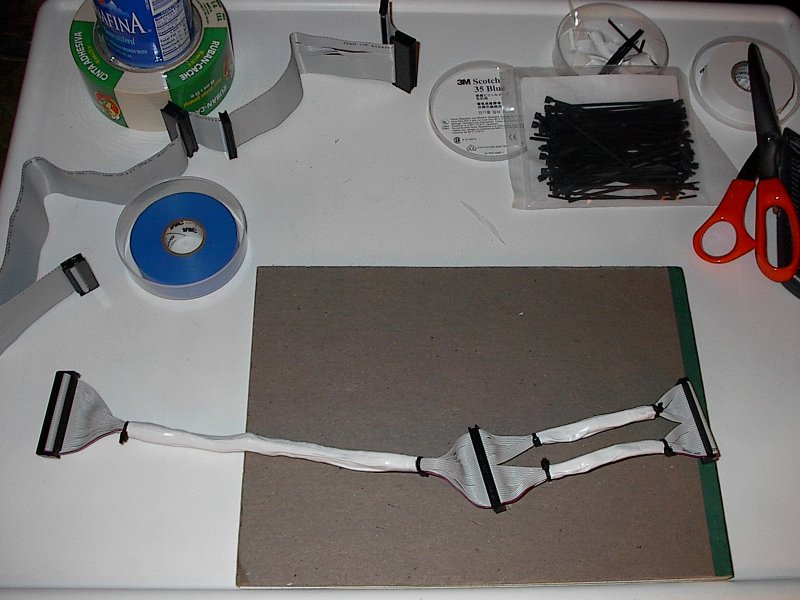
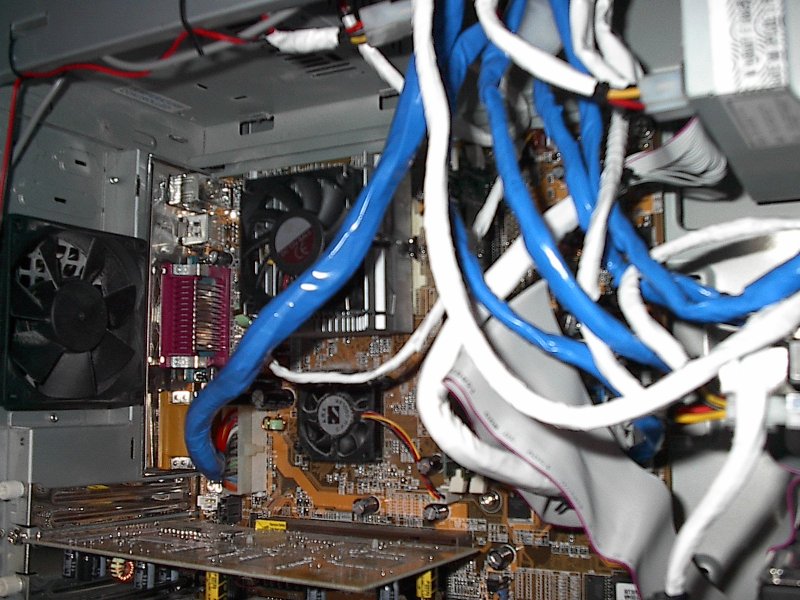
Simply make a small slit, about a 1/4" to 1/2" between the wires. You can do this every wire, every 3rd wire, every 5th wire, etc.. If you do every wire it will be easier to round and control. I pulled the cable apart in 5 wire increments. You can tape the wires up in any way you like, one large thick cable or several small cables. I did both on the IDE cable.
FLOPPY CABLE
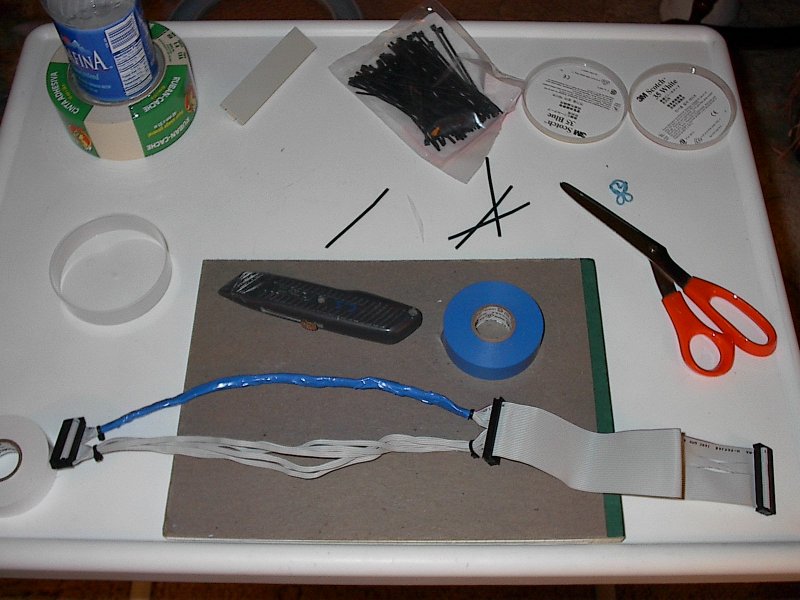
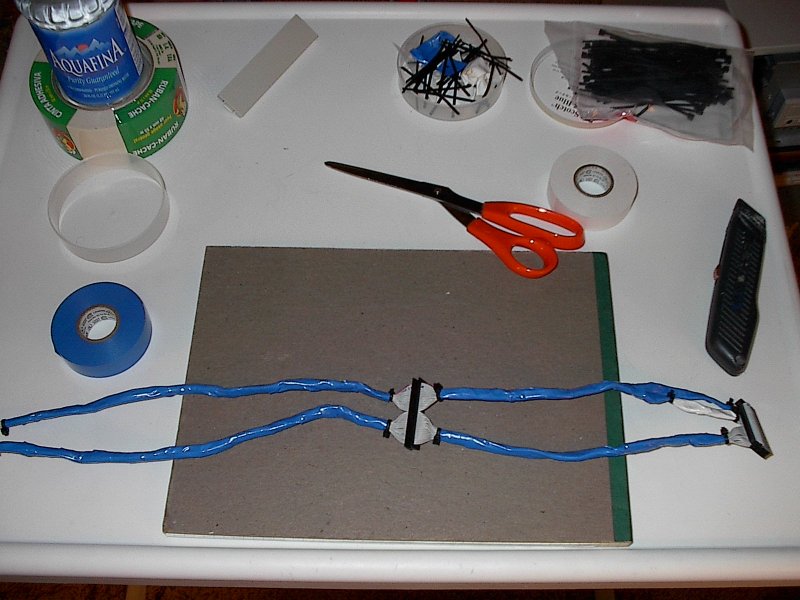
I also decided to tape up my power supply lines.
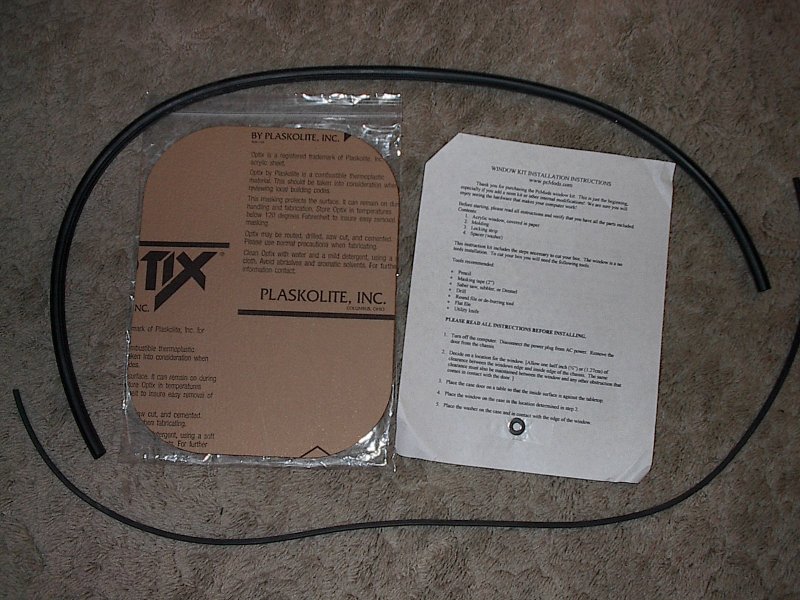
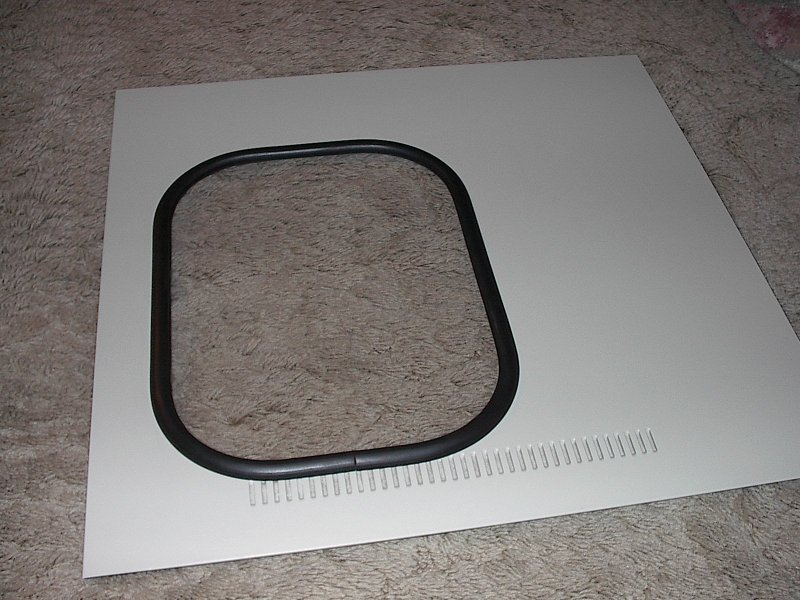
Next up is the Window. You can either buy the parts from a local store or get a window kit from pcmods. I went with their clear rectangle kit. What you will need to create a window is the following:
1) Pencil
2) Ruler or something to measure with
3) Masking tape (approx.. 2in. width)
4) Scissors
5) Dreml or Jigsaw (note: You may want to pick up some reinforced cut-off wheels for your Dremel)
6) Eye protection glasses
The window parts are:
1) An Acrylic Sheet cut to size
2) Some kind of molding with locking strip (can be bought at pcmods.com)
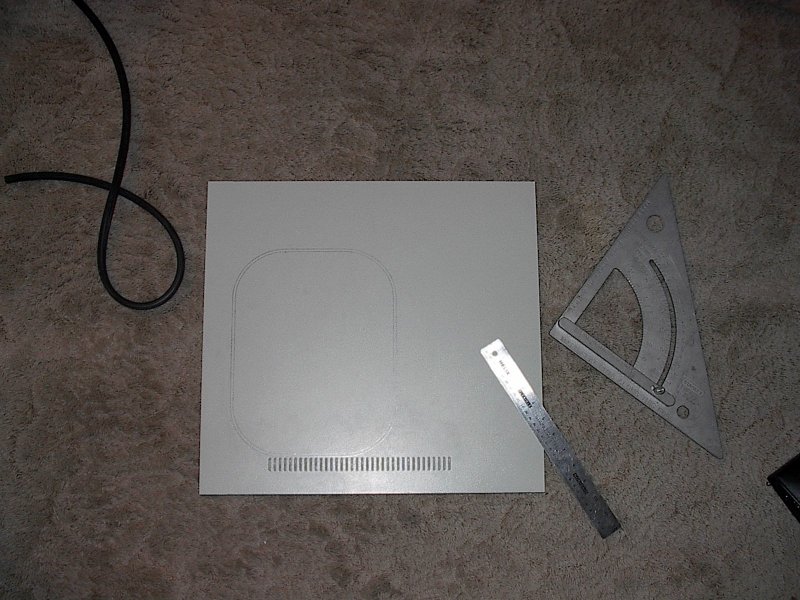
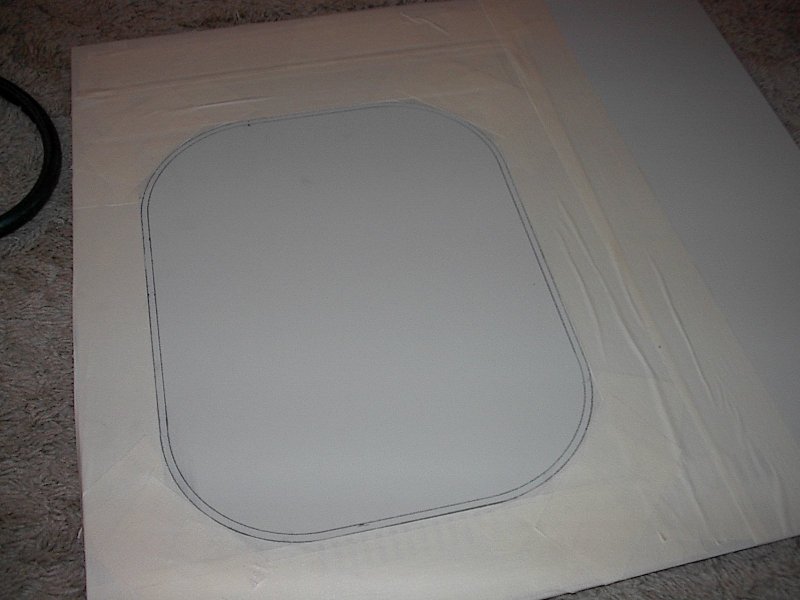
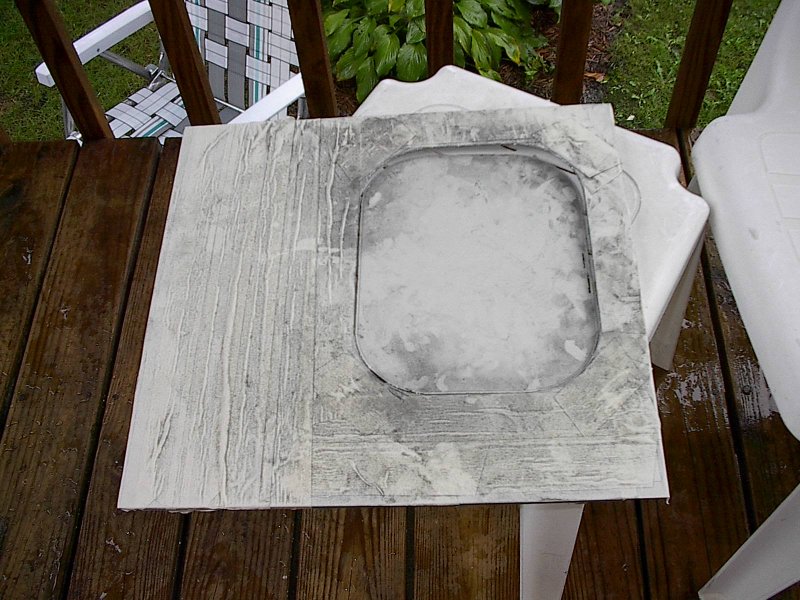
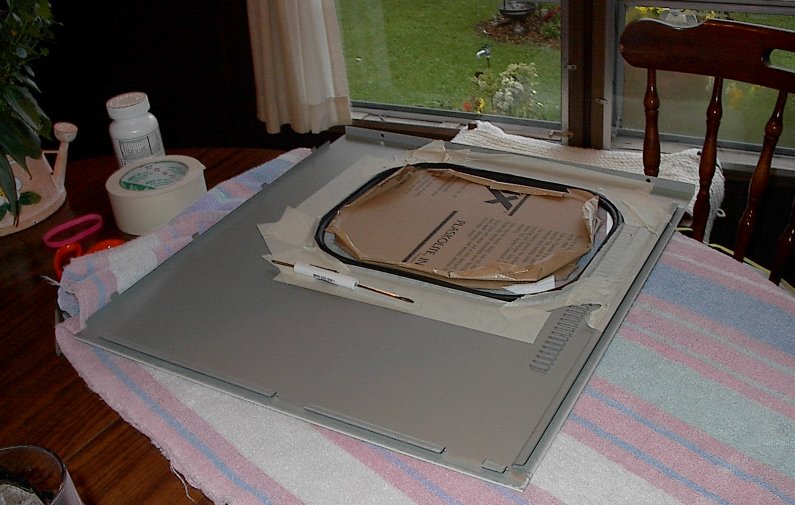
First find where you want your window to be (measure twice, cut once). Take the washer that comes with the kit (If you bought a kit) and trace around the window with the pencil inside the washer. This will allow room for the molding that will hold you window in place.
Second, tape off everything around your window. This will prevent chipping of the paint and also keep the siding clean.

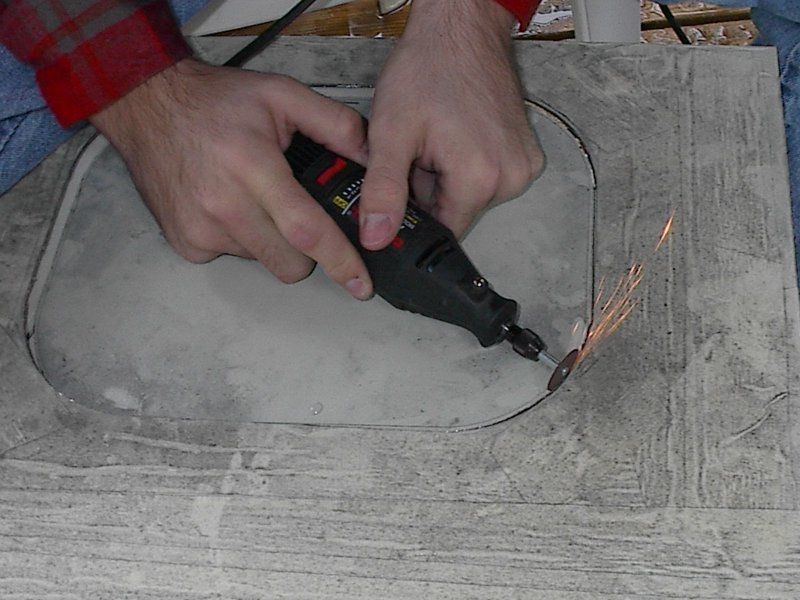
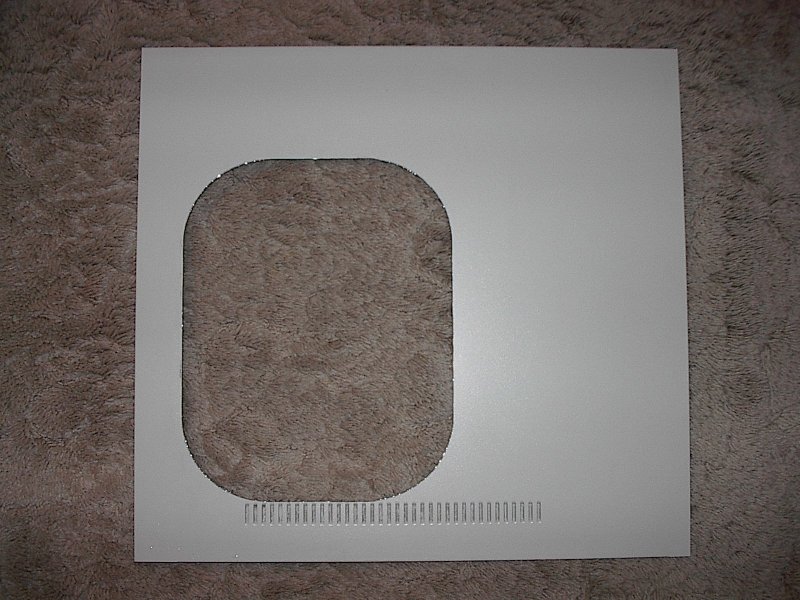
Third, time to cut that window out.
When you cut your window remember to wear your safety goggles! Especially with a dremel. I was only about a foot from the dremel trying to keep it in a straight line, sparks flying all over the place. Do not rush it, take your time.
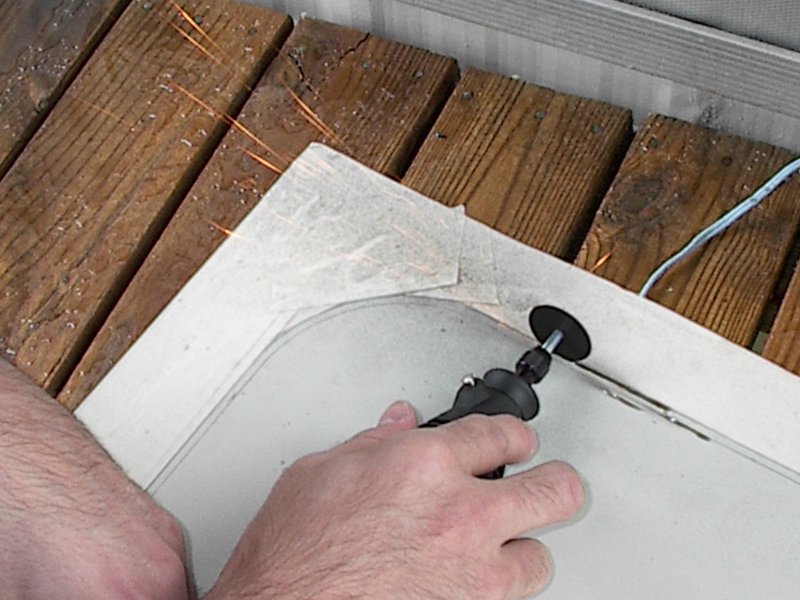
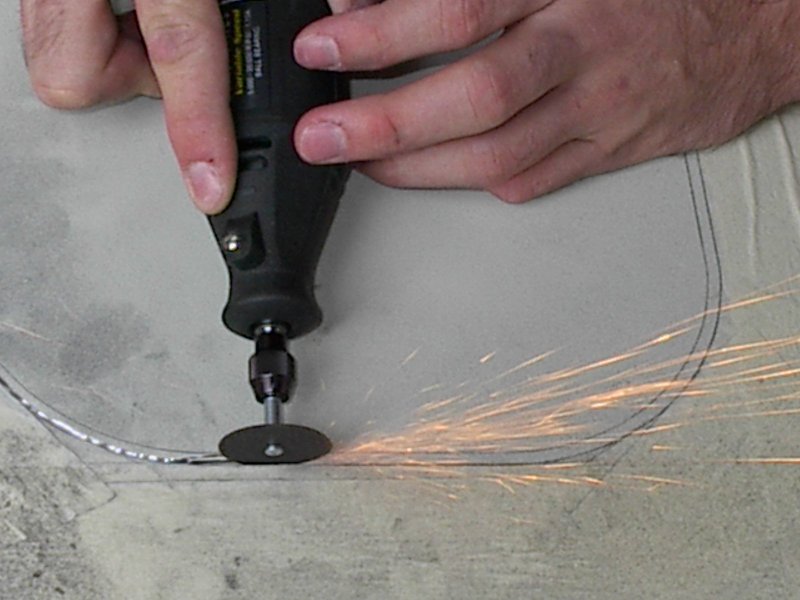
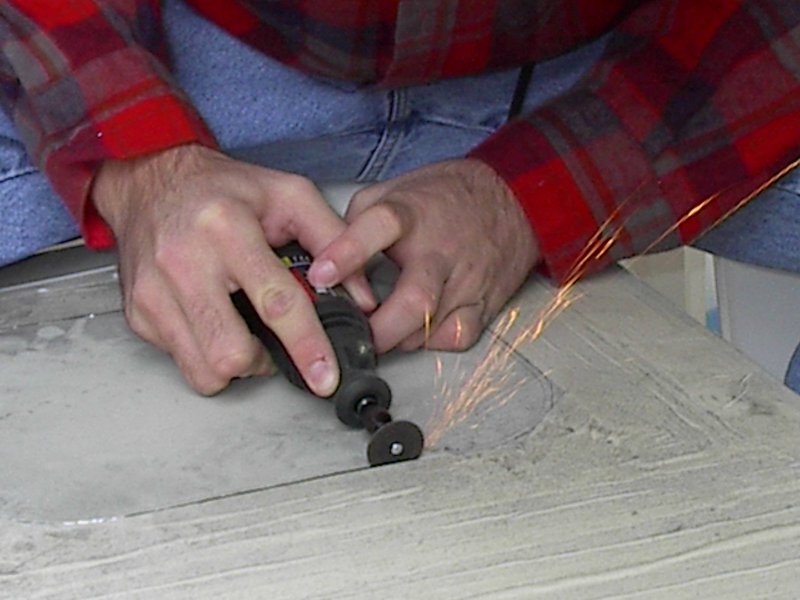
When cutting the corners, use the smaller cutoff wheels and make small 1/4" to 1/2" slices. After your window is cut out (1hr 45mins) use your grinder to smooth the edges and debur the window frame. You do not want a small piece of metal to land on your motherboard. Plus it prevents cuts and the like.
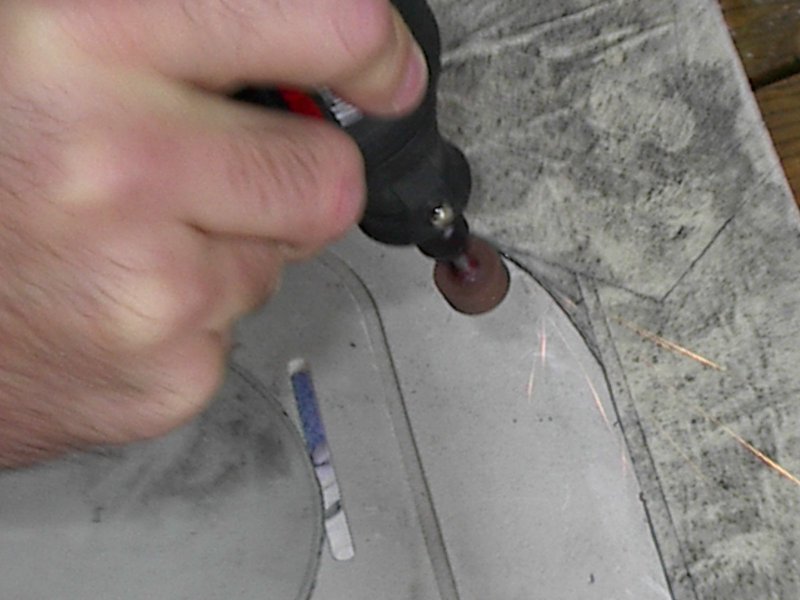
I ended up using one reinforced wheel and 2 small cutoff wheels.
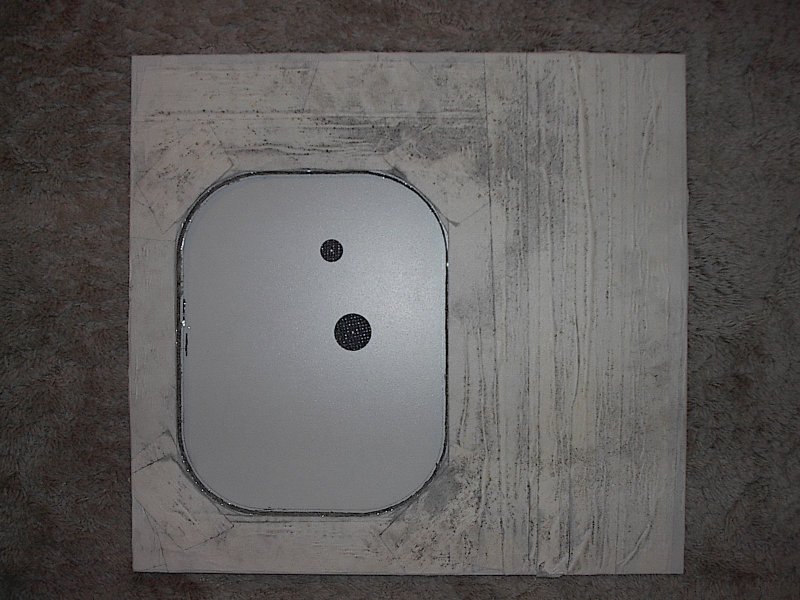
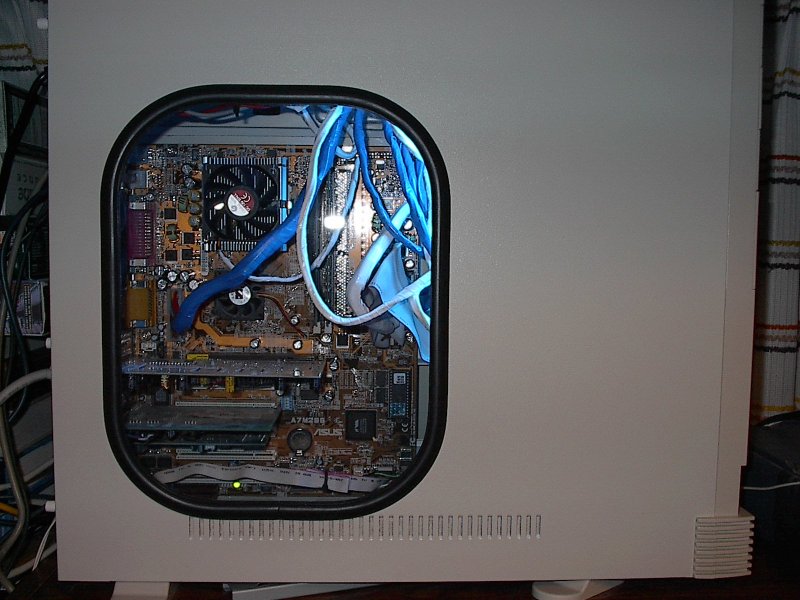
This is a real pain if your window cutout is slightly to small. I think mine was about a 1/32nd to 1/16th to small. When installing the window be patient, this can get on your nerves very fast. Take your molding and place it around the window (locking strip to inside). Make sure you have the squarish cutout on your computers side and the larger cutout towards your acrylic window. Once you have your molding on and cut to size turn your siding over.
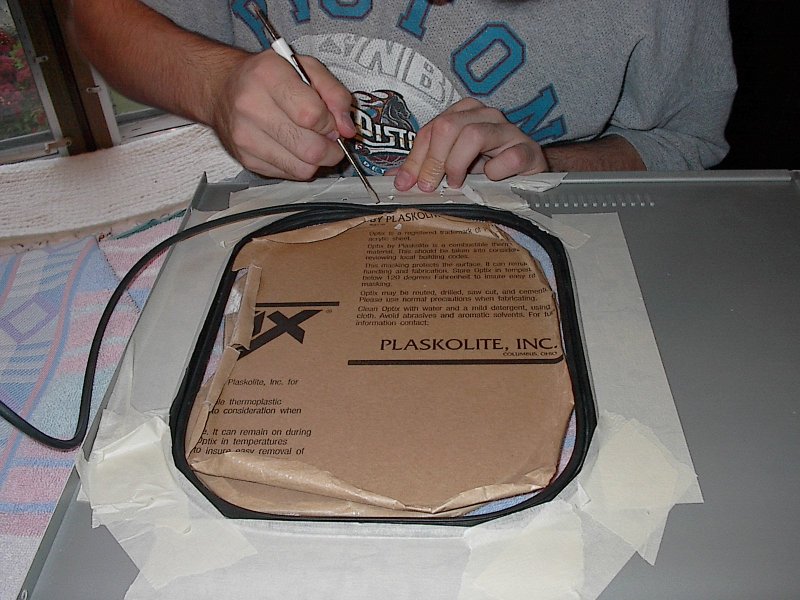
You should be looking at it as if you were inside your case. Peel back the paper on your window from the edges. Insert one corner of the window into the molding and work your way around. You will need to use a flat head screwdriver or something similar to pry up the molding to get it in. Once you have your window in insert your locking strip into it's equivalent cutout. This is the frustrating part if you cut the window to small. Once it is installed peel off the paper and clean off the glass if it needs it.
A few tips. Try taping the molding to your siding once you have it in place, then try inserting the glass window into the molding. This way the molding will not come lose or come off the siding when you are working with it.
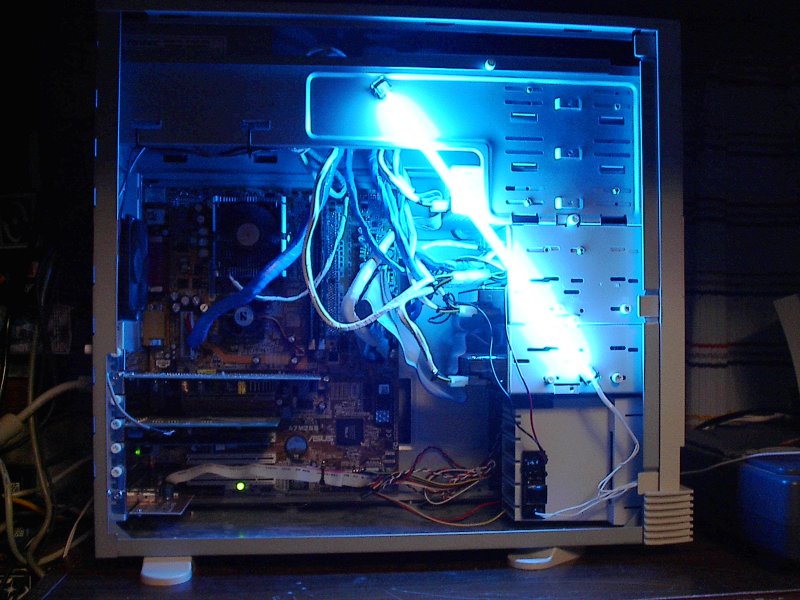
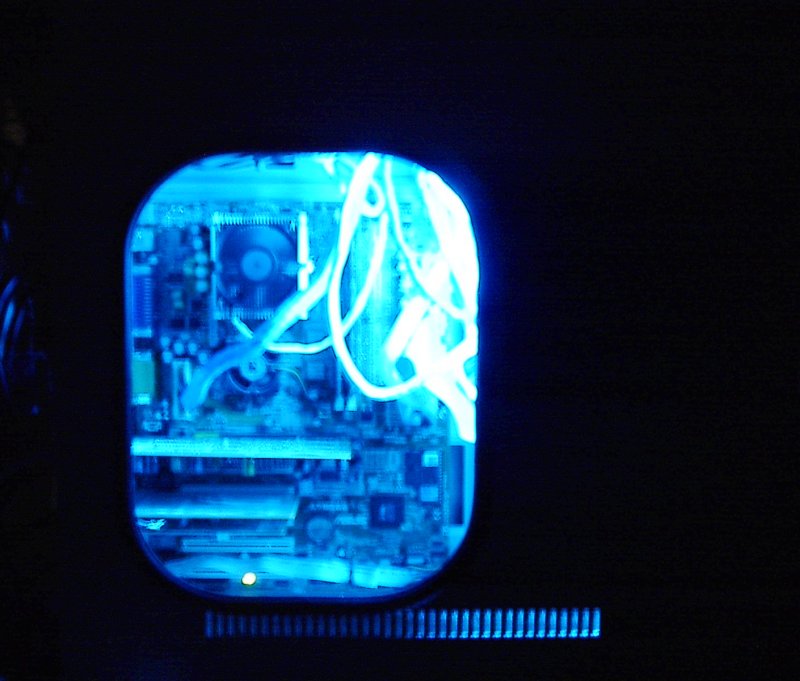
Installing a neon light is very easy. You just need to decide on what you want. Cold Cathode or Liquid (both available from pcmods.com). The Cold Cathode's produce more light than the Liquids, but the liquids have a sound sensitive system.. so your light would pulse to how loud your rocket launcher is in Unreal.
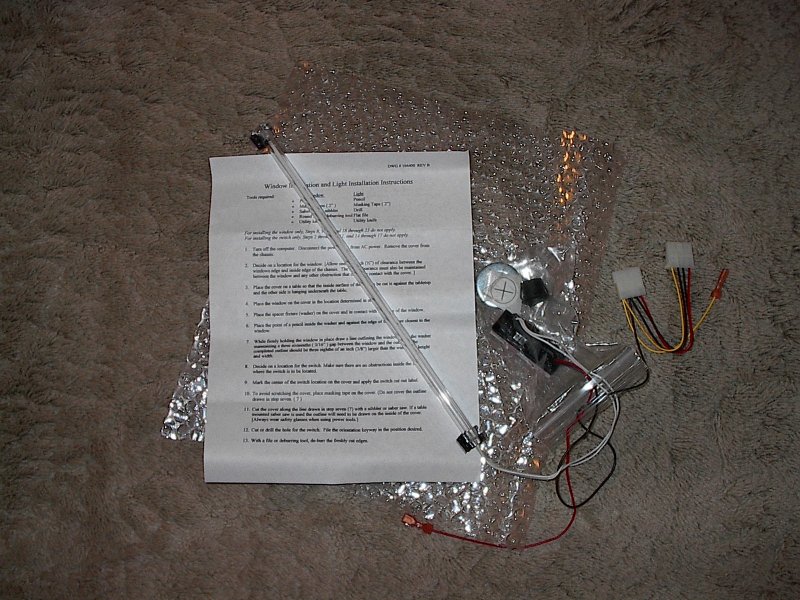
What you need to get started is a drill bit for your dremel and a place on your system where you wish to install the button for the neon. I chose to install the switch on my small 3.5in face plate under my 3.5in floppy drive.
Place your sticker on the face plate or where you want it (has the circle and the + on it). Drill some holes and use a grinder to round it our. Do not go over the lines. Insert your switch and attach the yellow and red wires (or whatever color they may be).
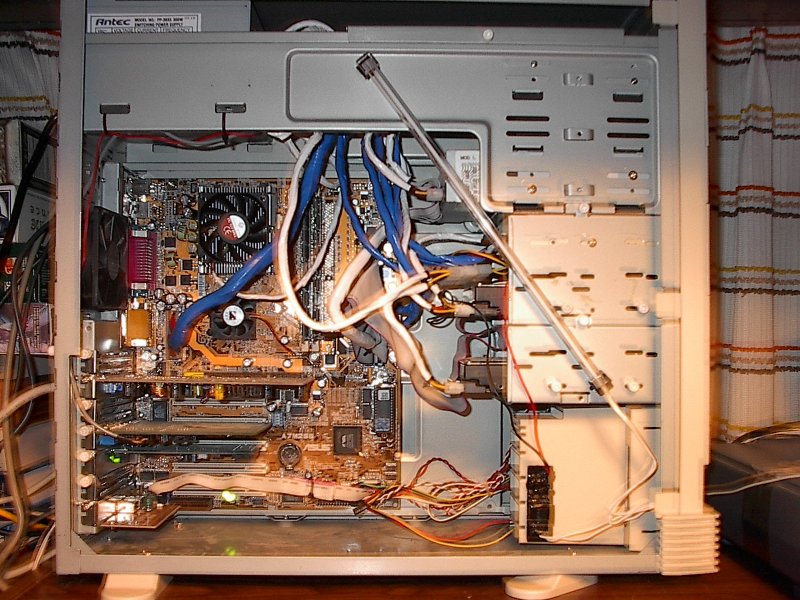
For the Neon, just place it wherever you get the best lighting. Look at the pics above and below to see where I placed mine.